PhoneIQ In Call Actions - Assign to Case
In Call Actions - Assign to Case
Updated on April 6, 2022
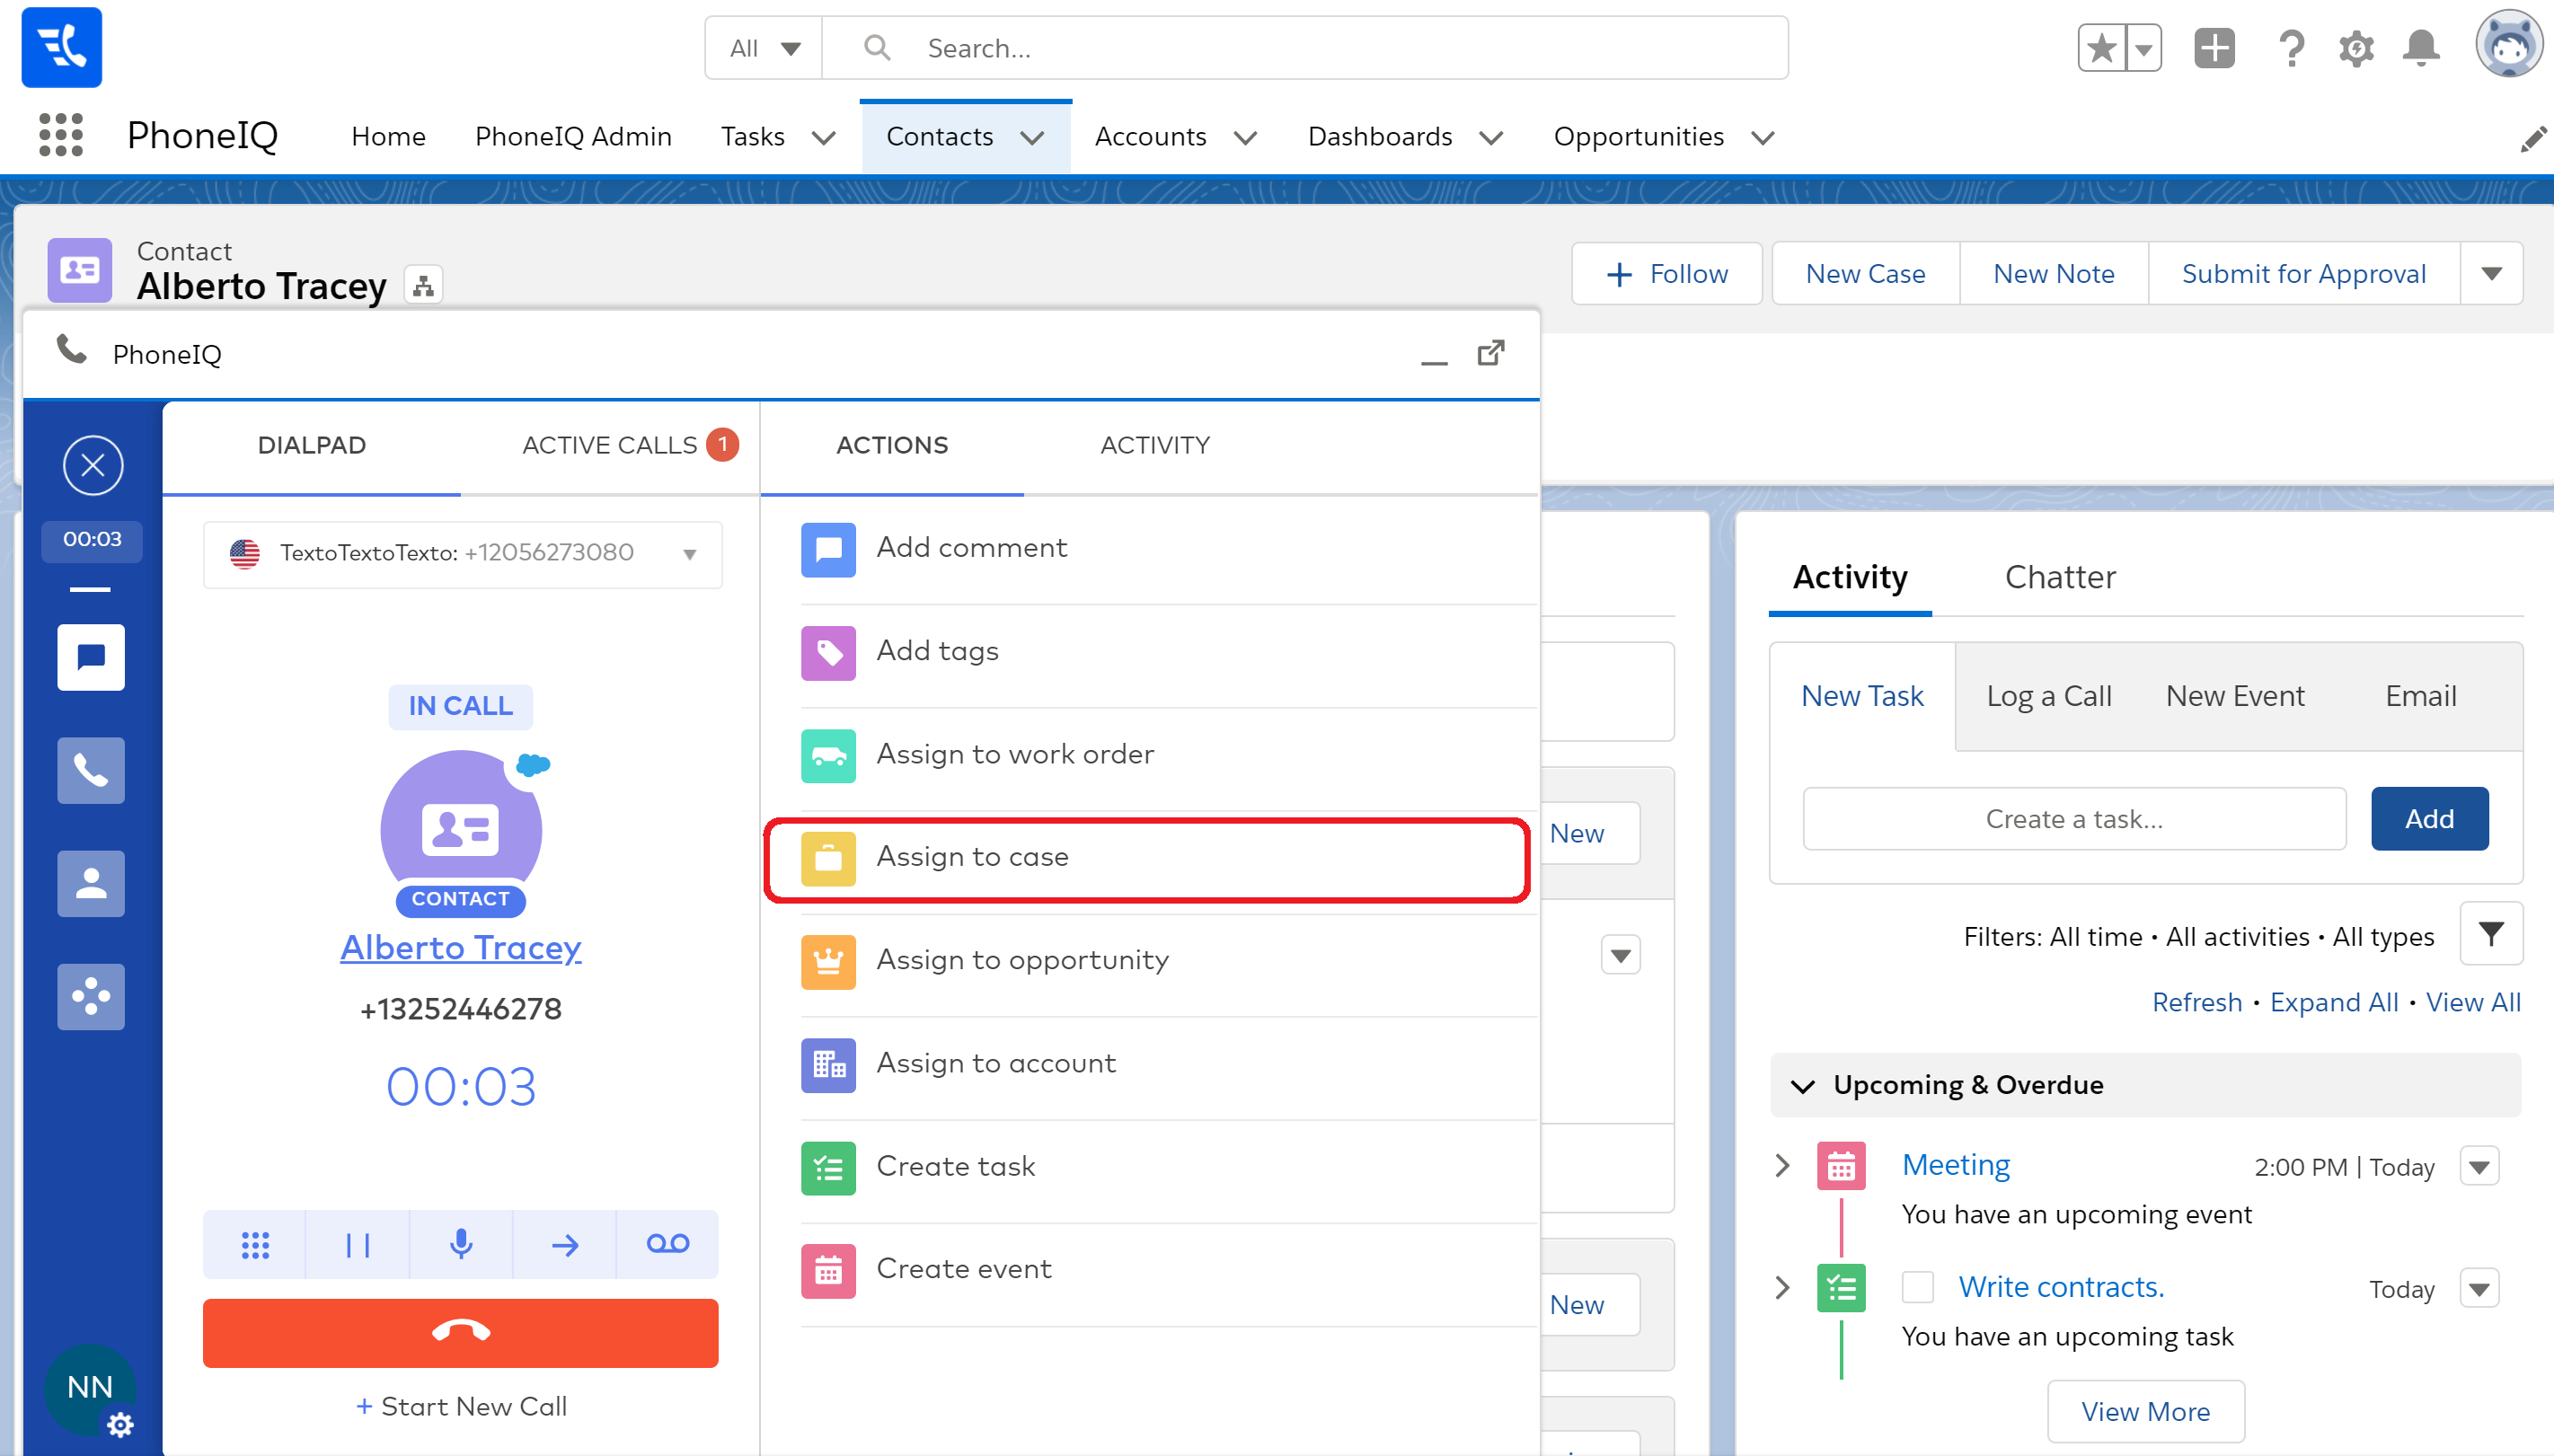
While being on an active call, you will notice on the right panel of the CTI a set of buttons under the name 'Actions'; these are the 'In Call Actions.' Each action can be used in combination with Salesforce to increase the productivity of your team. In this guide, we will cover the 'Assign to Case' action.
You can either create a case or assign the call to an existing one.
Create Case
Step 1: While being on an active call, click on the ‘Assign to case’ button.
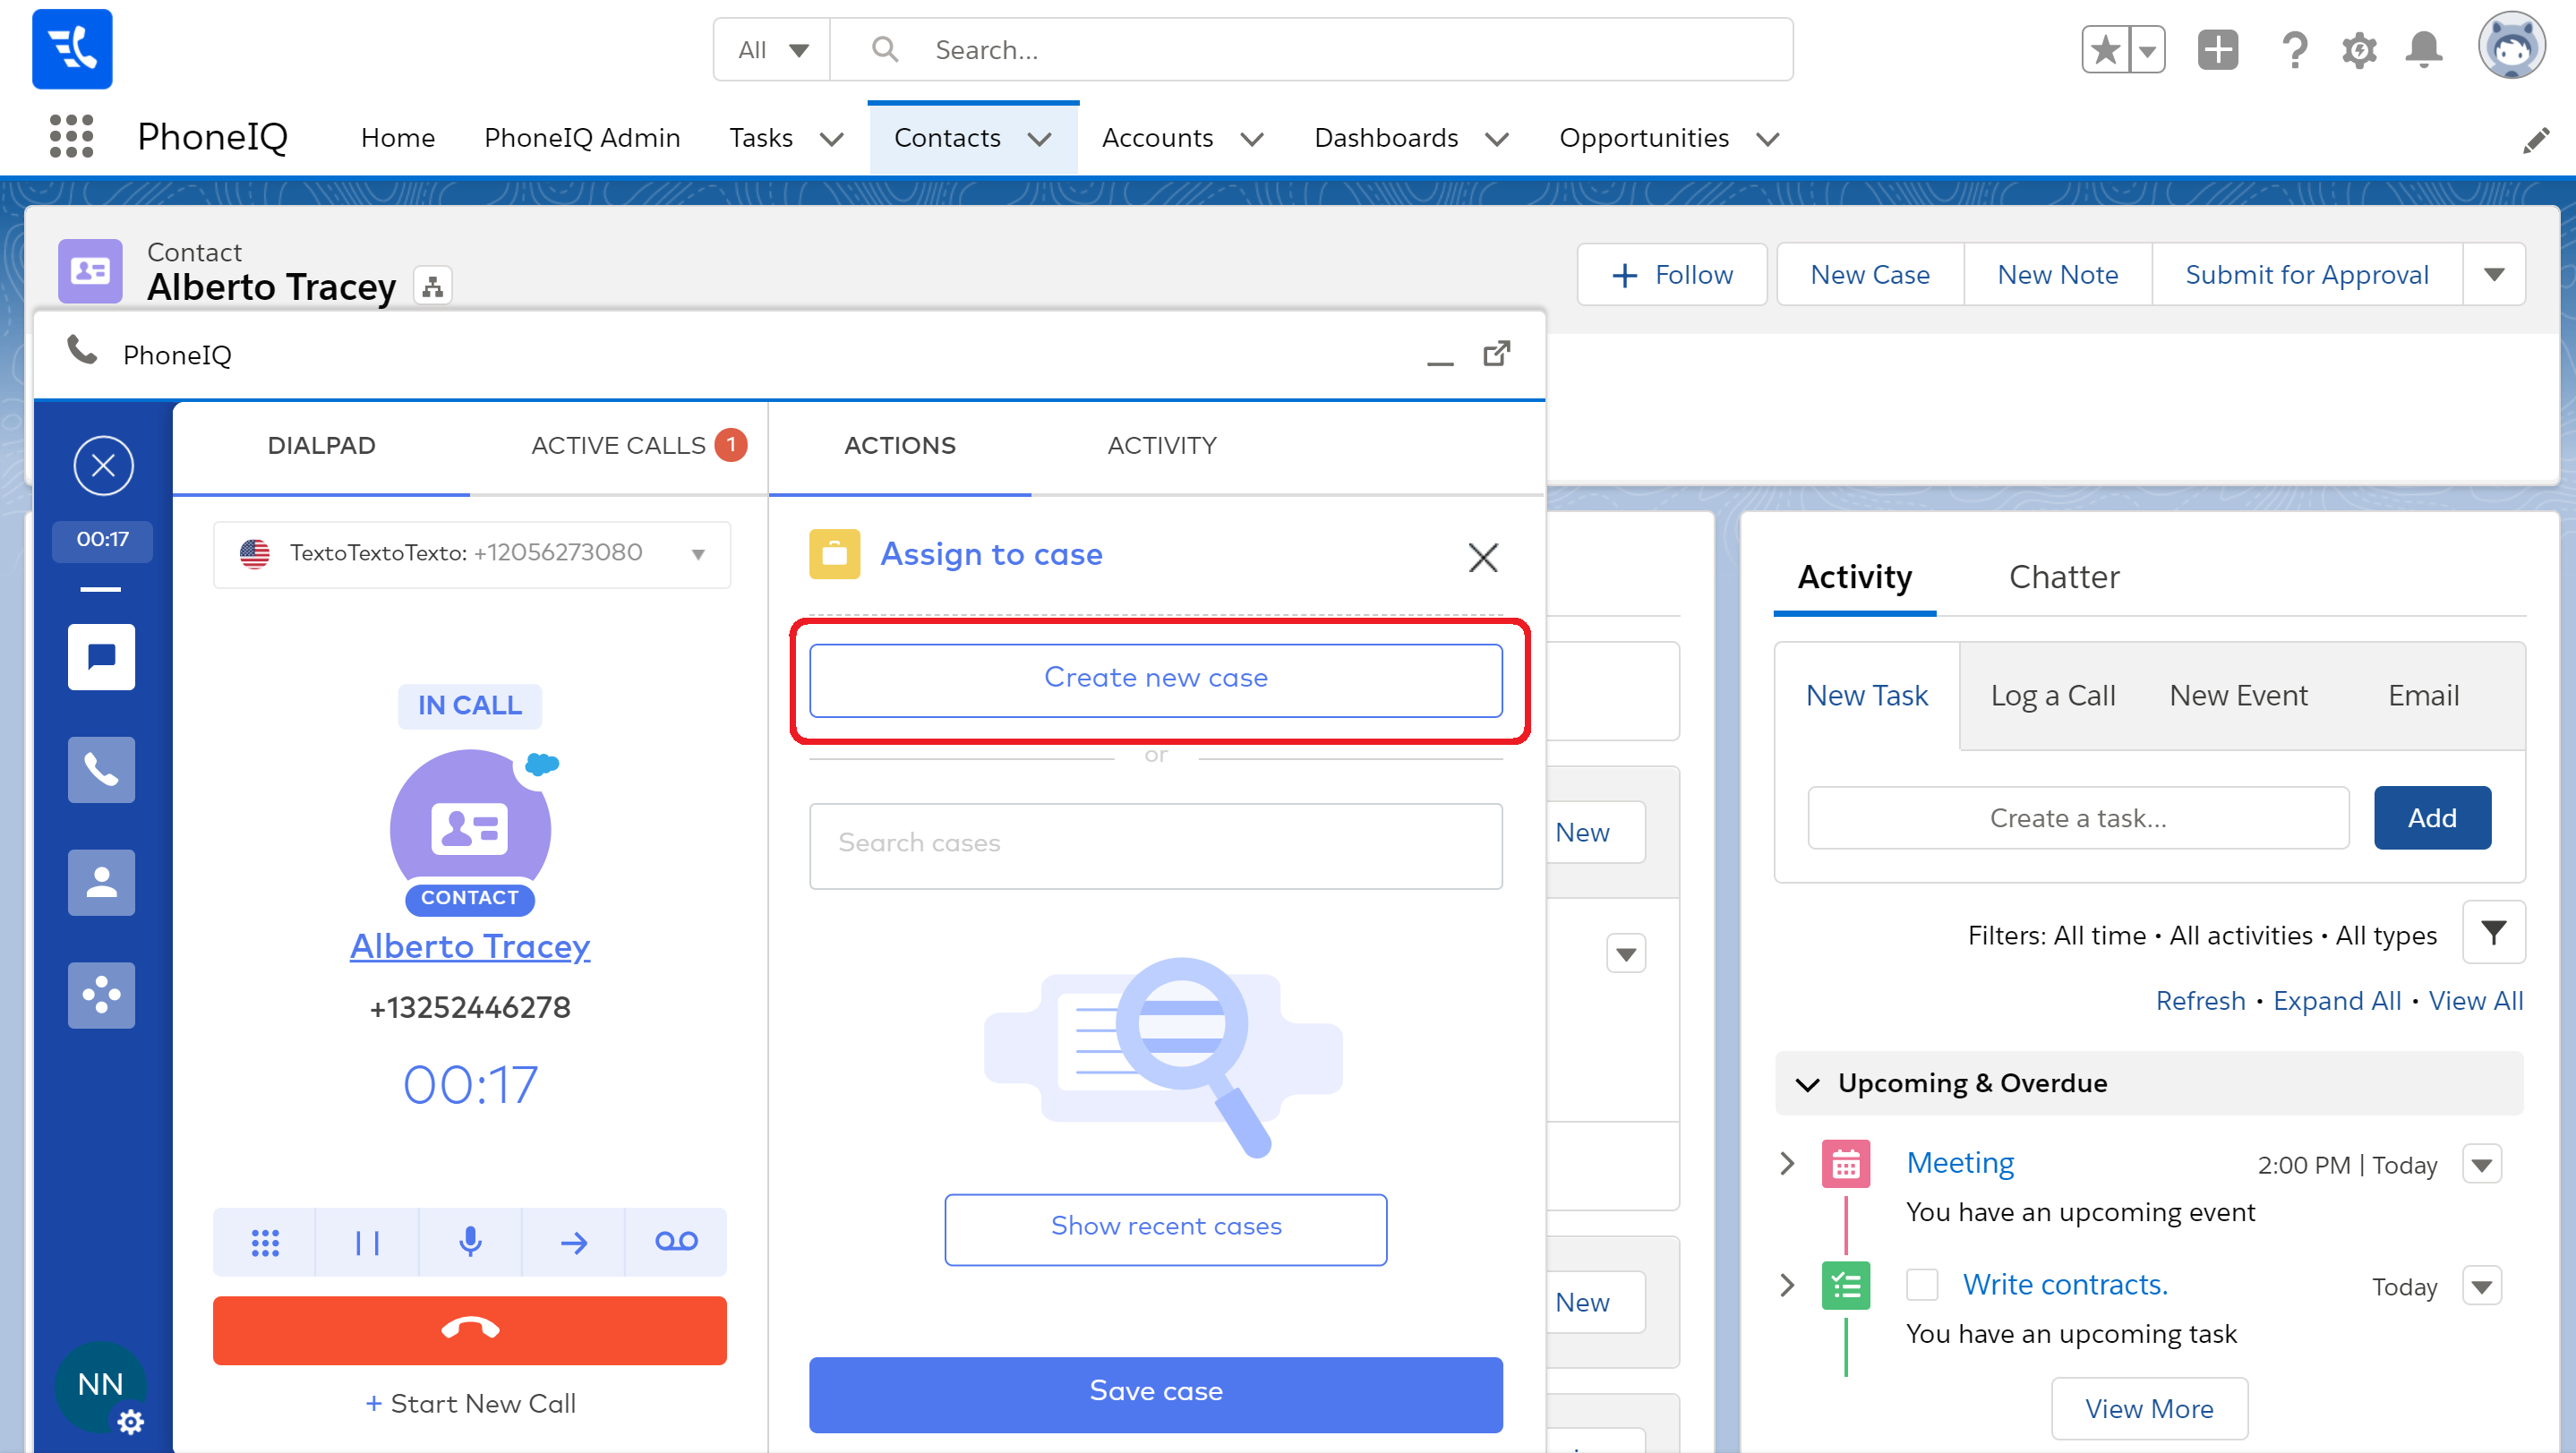
Step2: Click on ‘Create new case.’
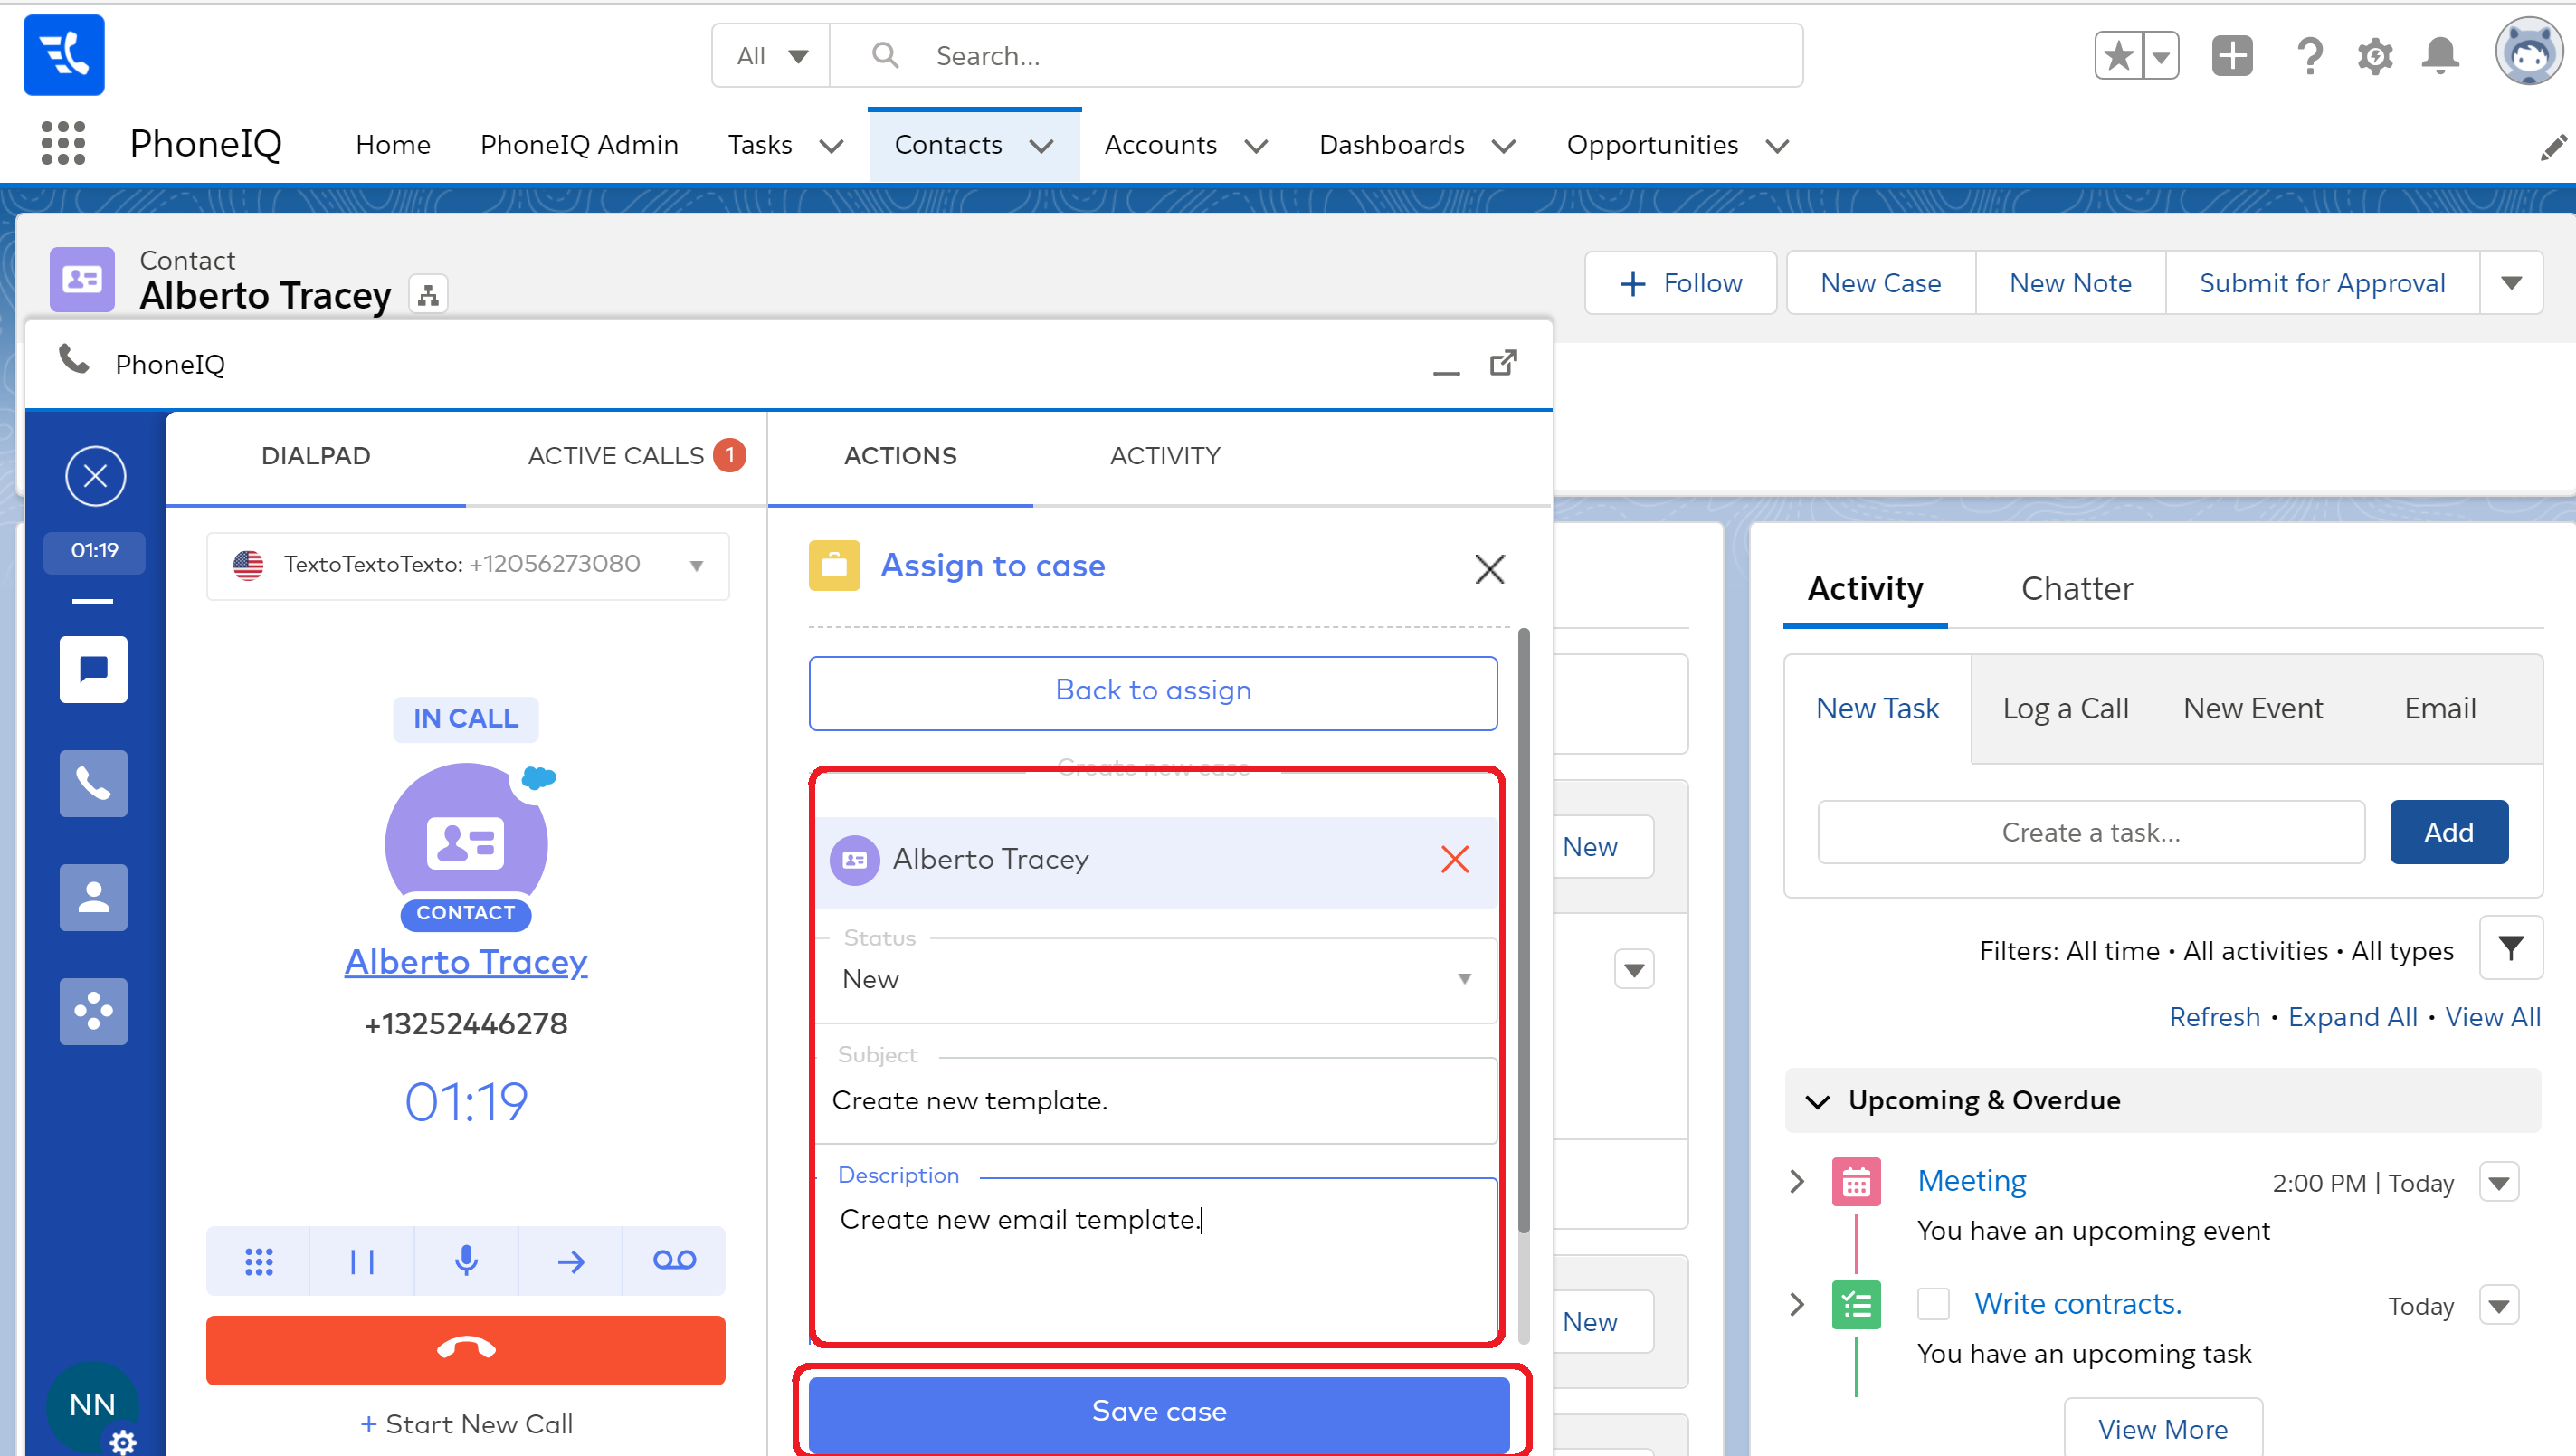
Step 3: Fill out the necessary fields.
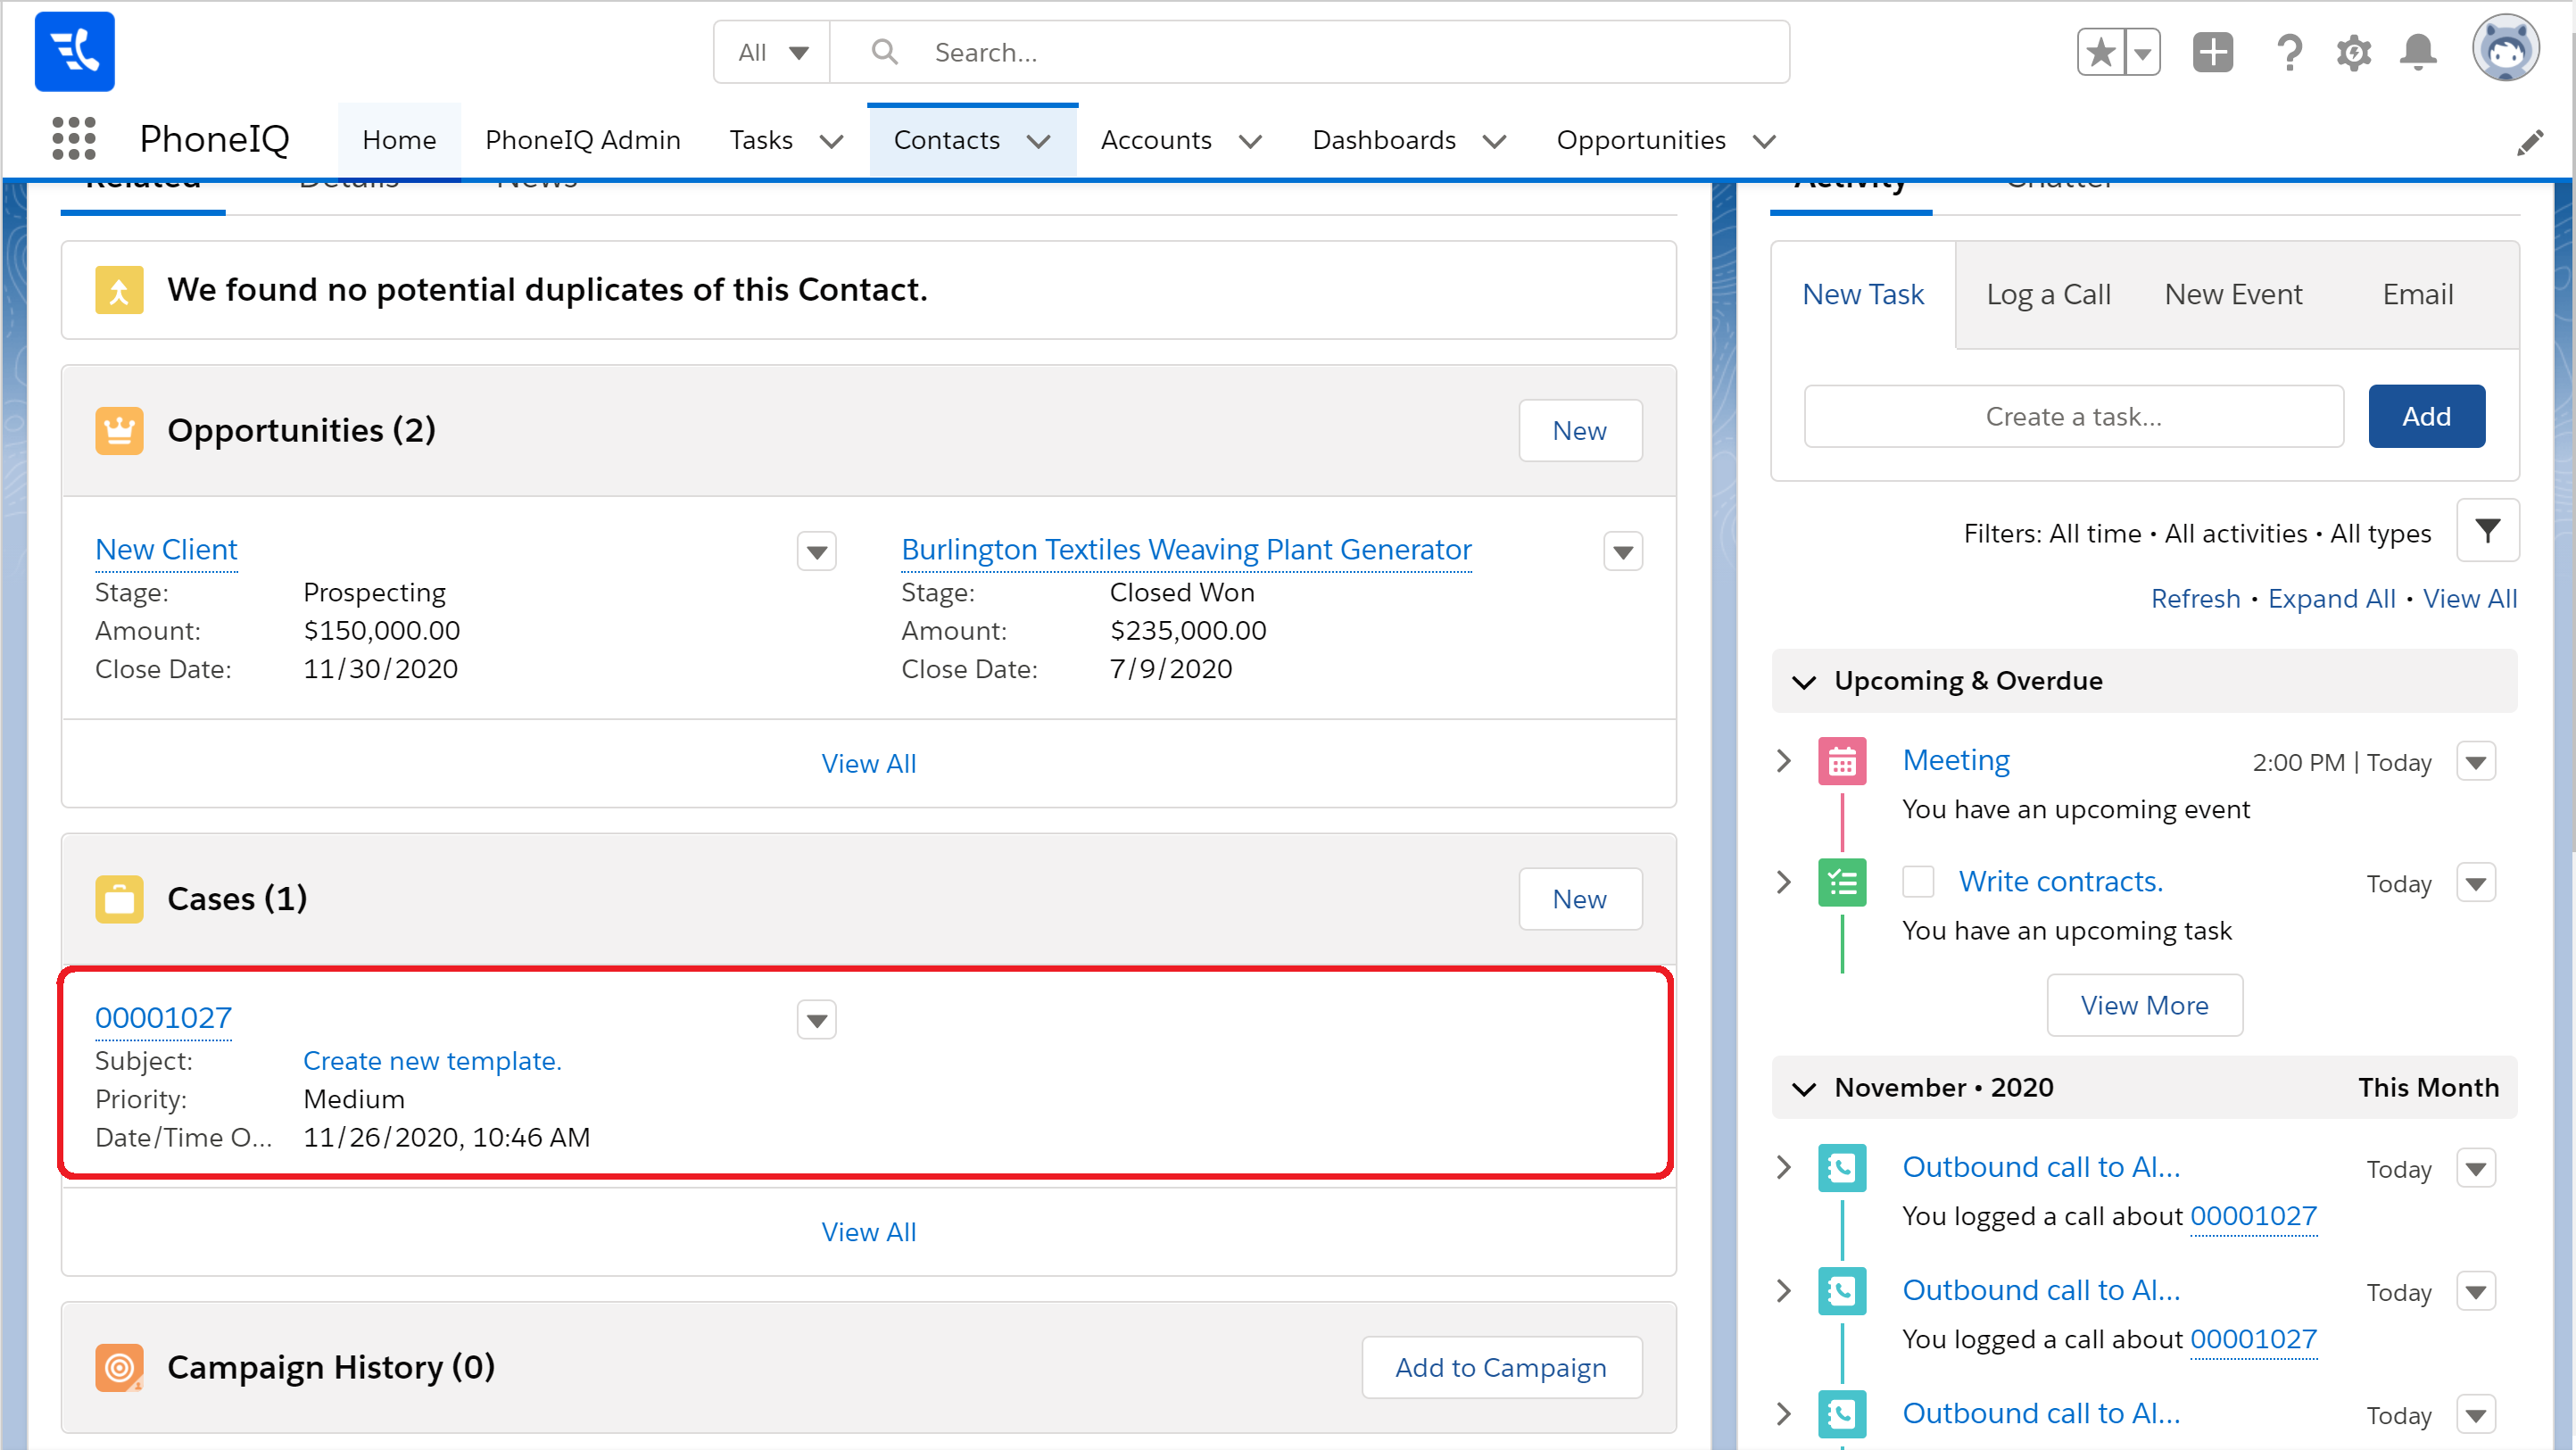
In Salesforce, navigate to the contact and see the new case created using the 'Assign to case' action.
Assign to existing case
Step 1: Click on the 'Show recent cases' button or search by case name.
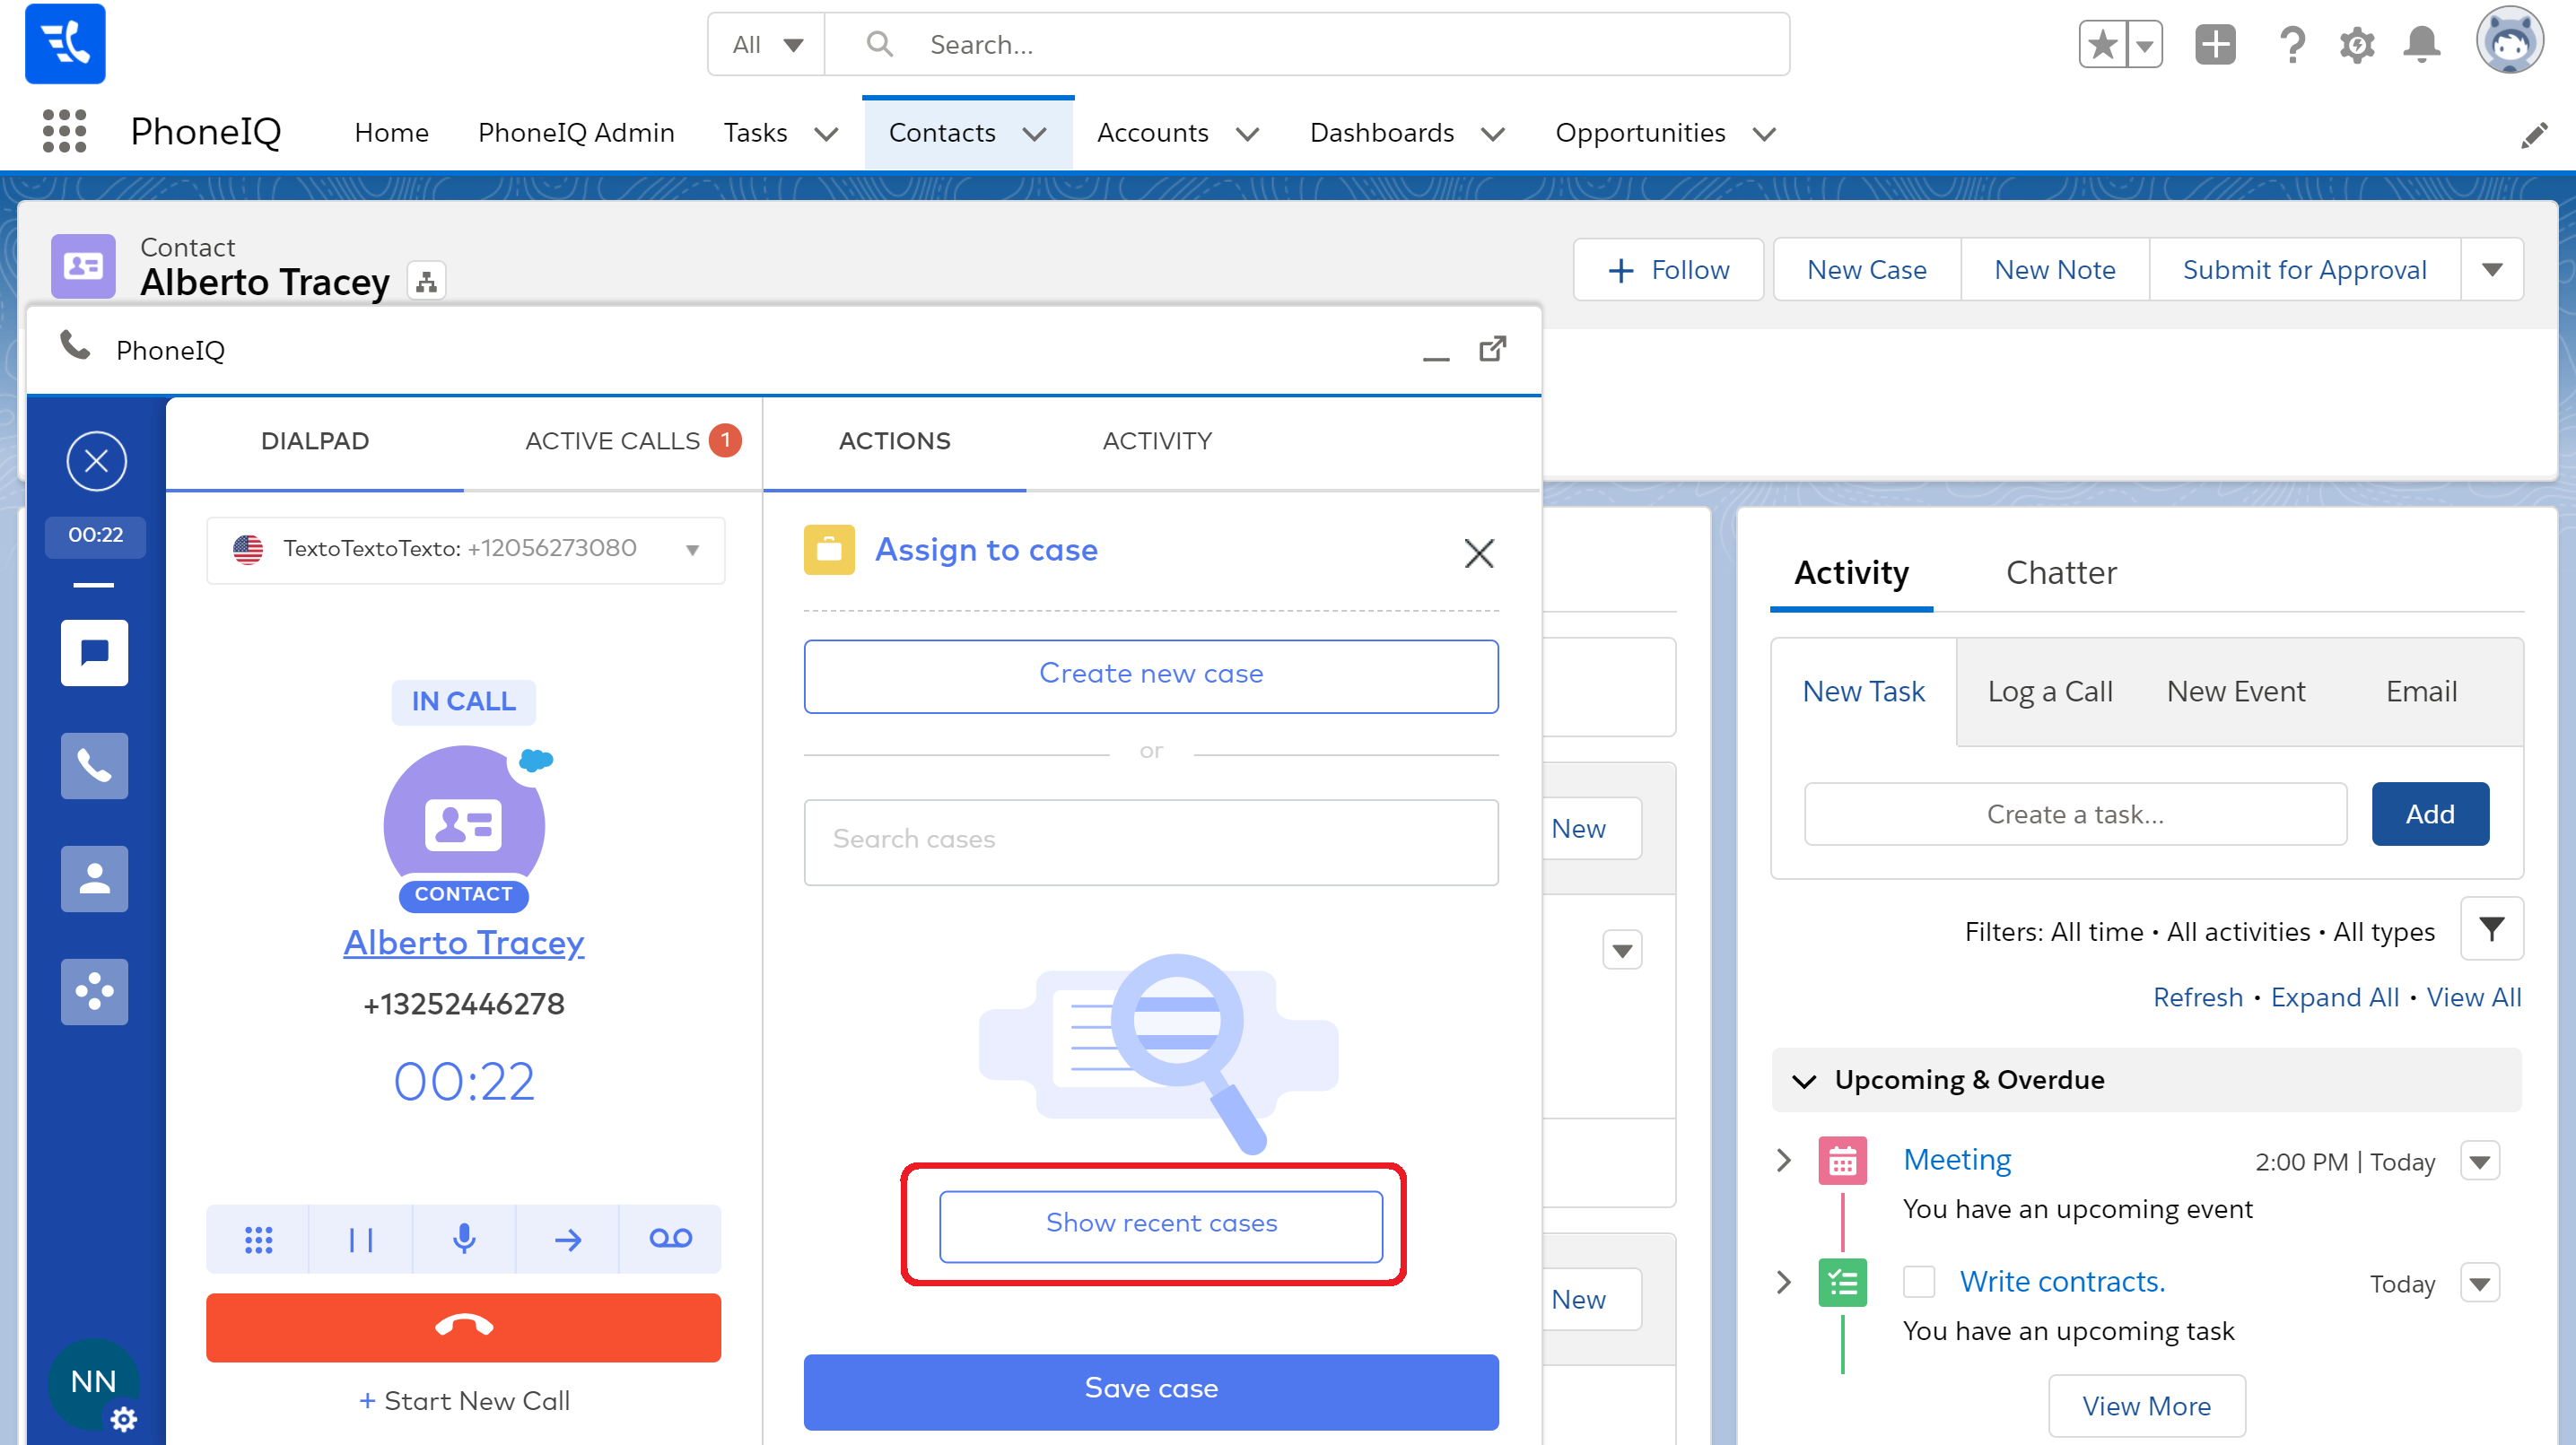
Step 2: Click on the case to which you want to assign the call.
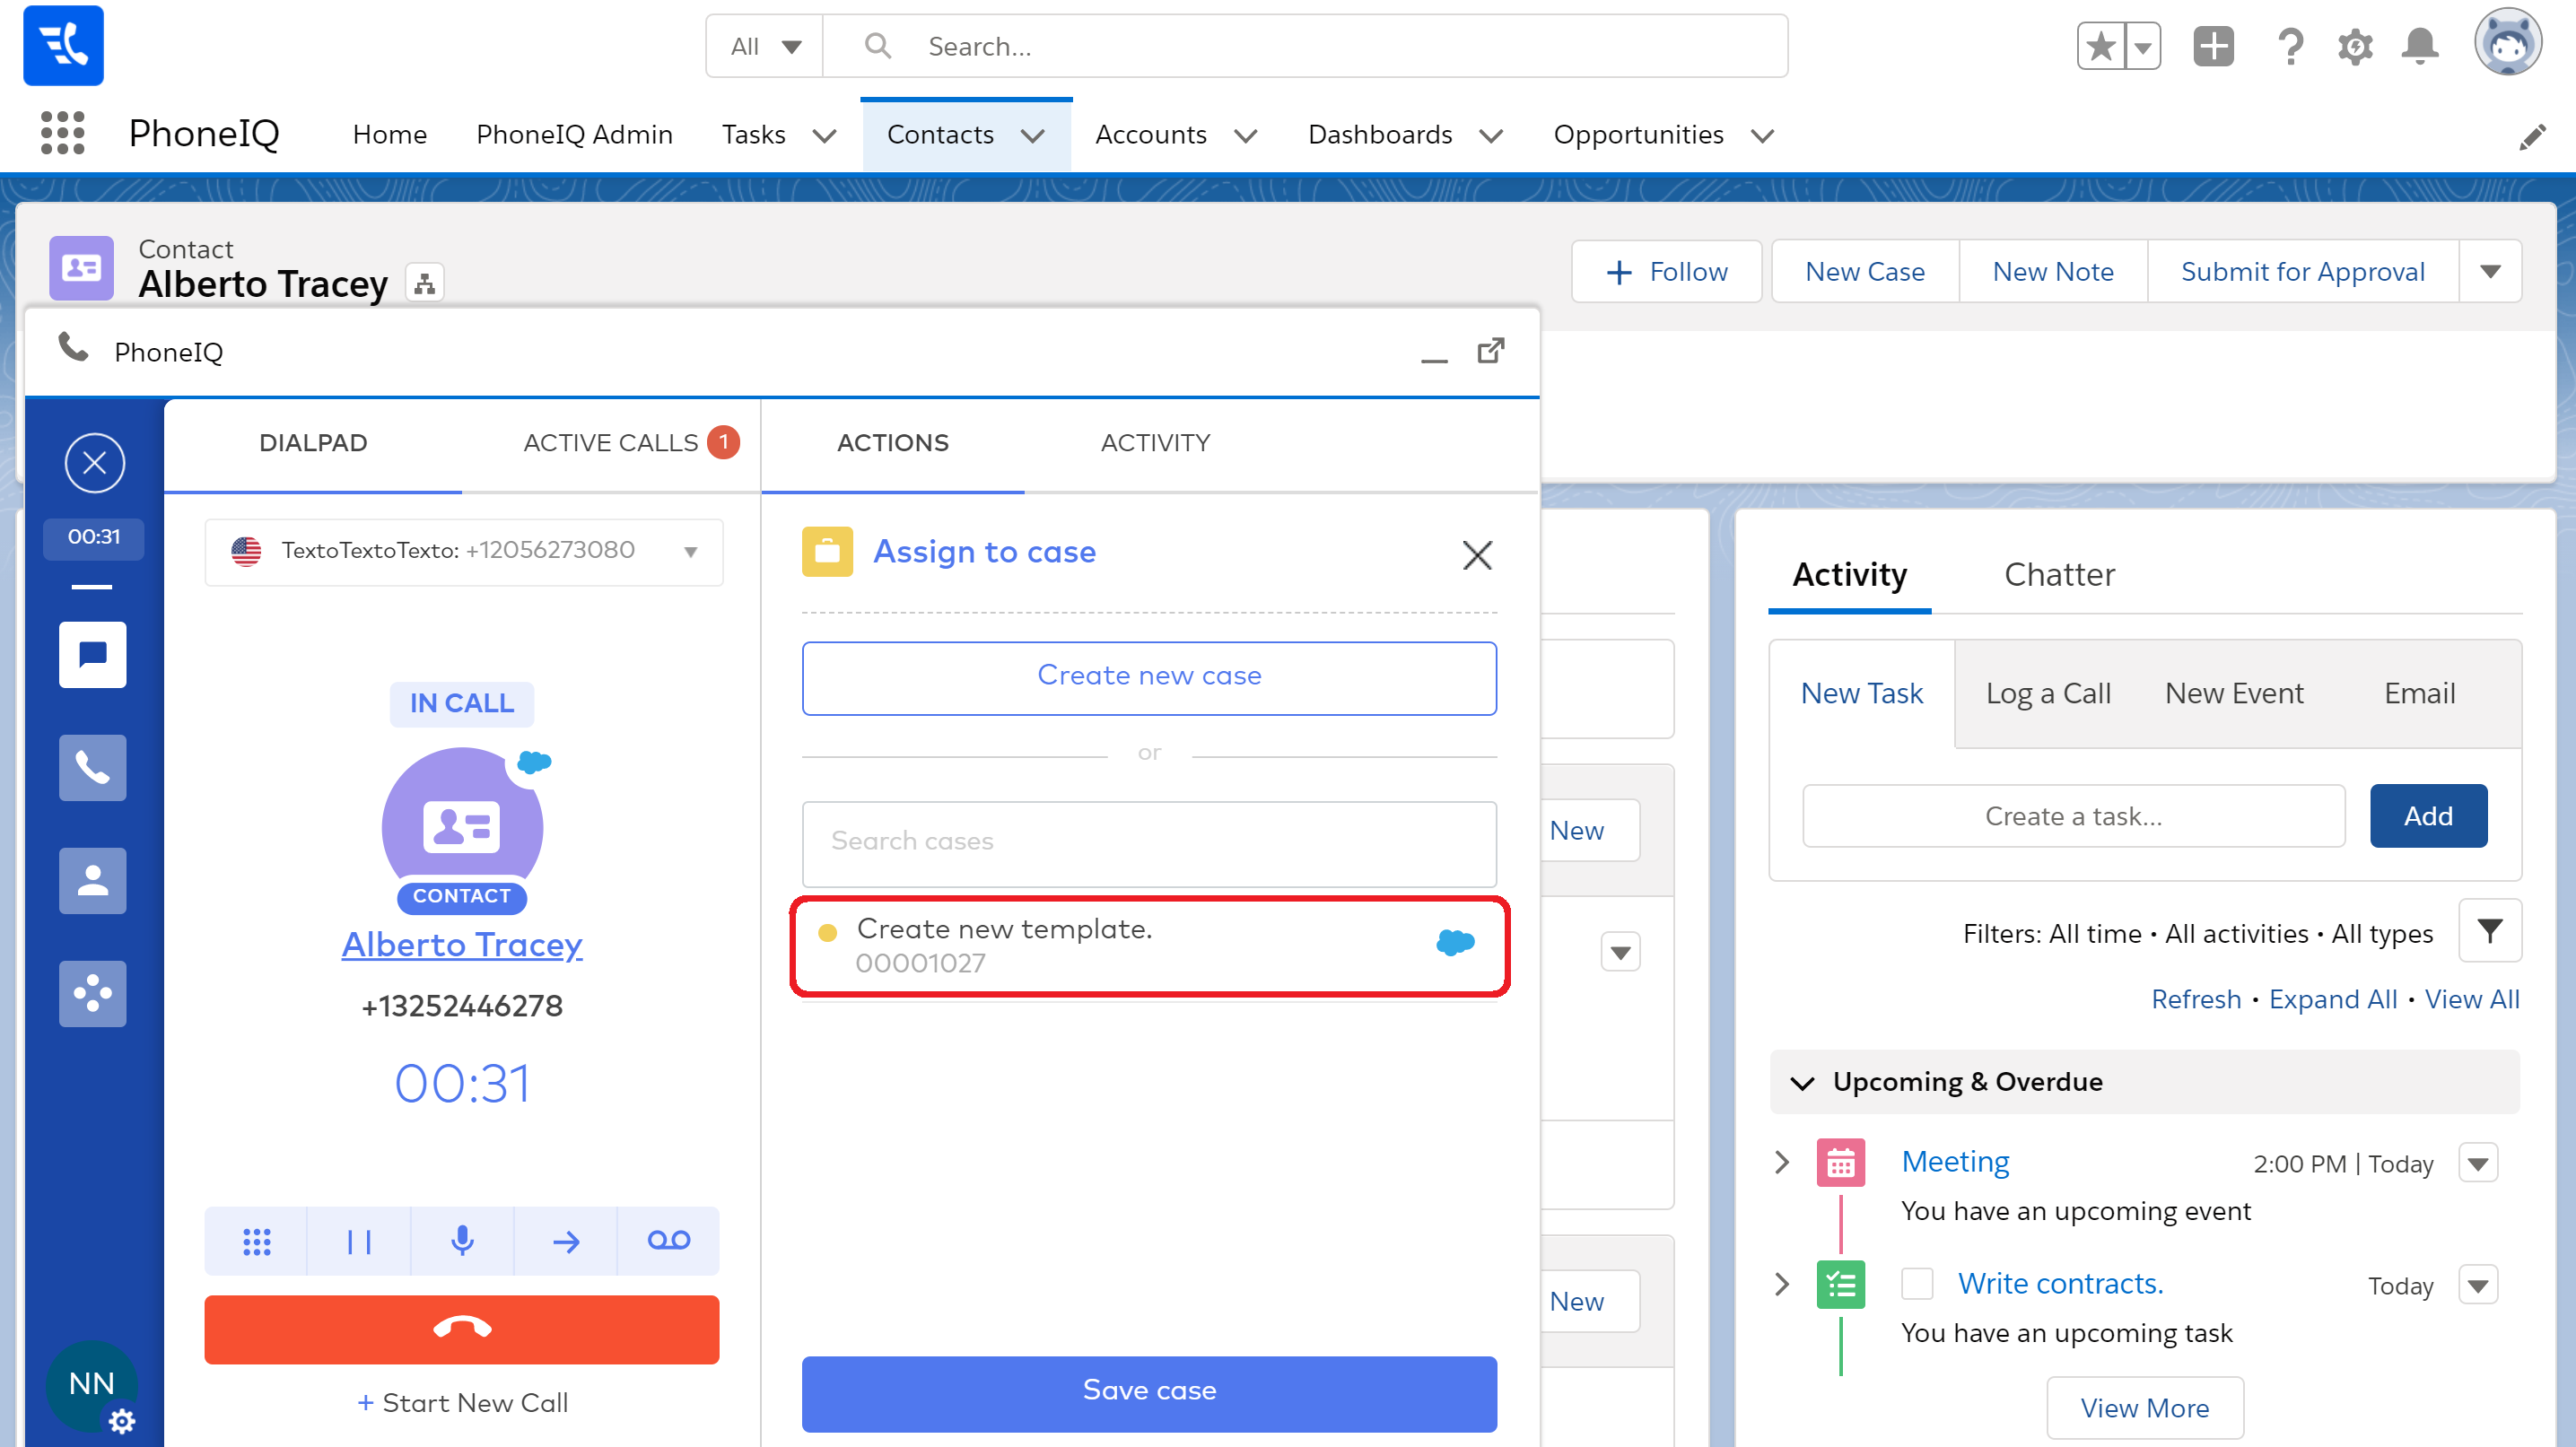
Step 3: Click on 'Save case.'

In Salesforce, navigate to the contact to see the logged call related to an existing opportunity.